Teaching guides
Creating Your First Cadmus Assessment


Share with colleagues
When using a new learning technology, it can sometimes be a little overwhelming to figure out everything you need to do to get started. In 5 easy steps, this guide will take you through the process of setting up and designing your first Cadmus assessment. Even if this isn't your first time using Cadmus, you can use this guide as a refresher when getting set up for a new semester.
1. Set up a Cadmus link
The first thing you'll need to do is create a Cadmus link in the LMS. This is what both teachers and students will click on to be taken through to the Cadmus environment. We'd recommend including a brief assessment description in the LMS settings to give students some information about Cadmus before they enter the environment—here are some samples you are welcome to use.
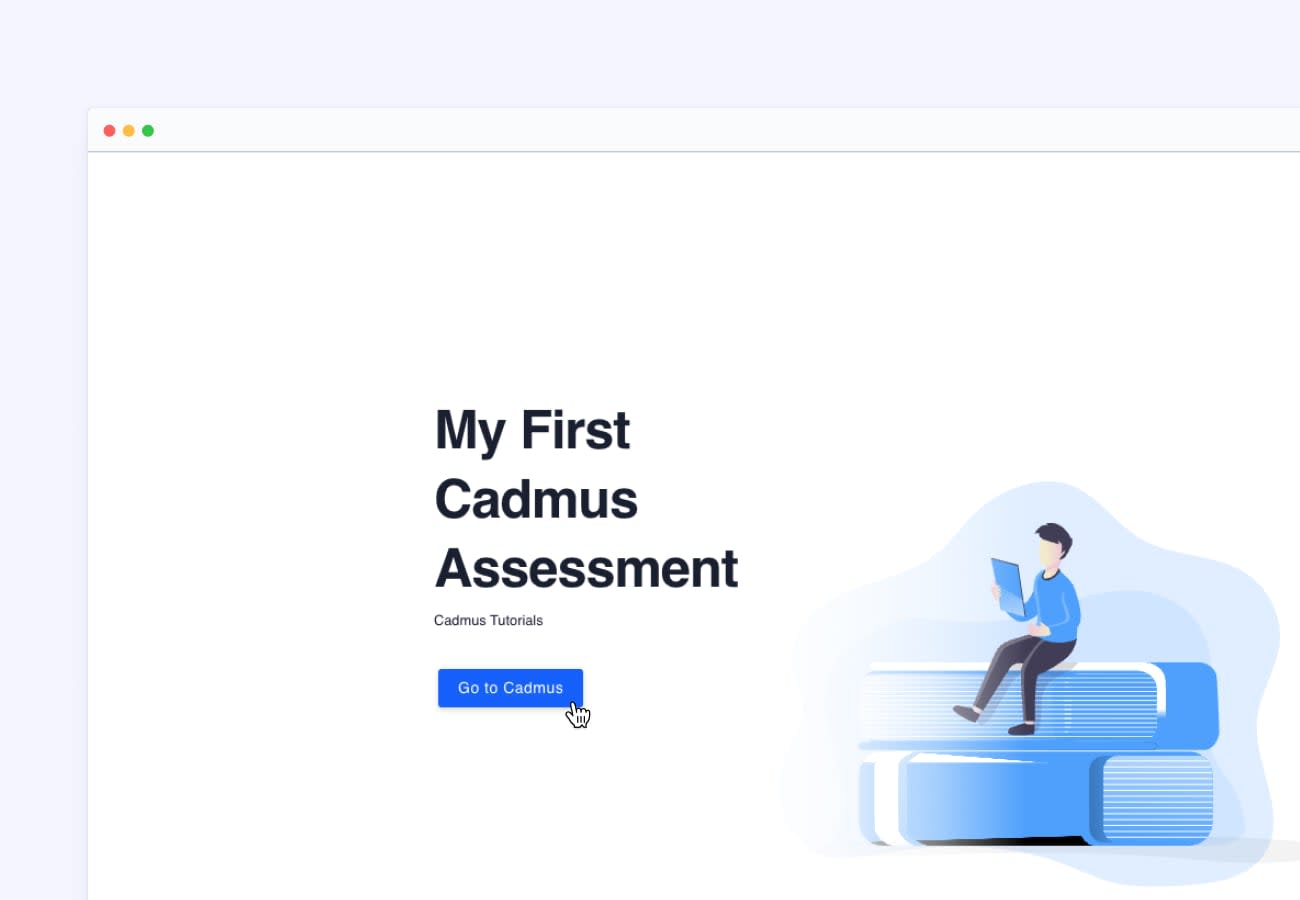
Once your link is set up, click Go to Cadmus to enter the Cadmus Teacher Environment. This is where you will create instructions, manage your class, access submissions for marking and view live learning analytics.
2. Set the requirements
Start by setting your requirements—including setting the due date, Turnitin permissions and marking preferences—as well as student-facing information such as weighting, word limit and referencing style. Follow these detailed steps if you're using Canvas as your LMS. Otherwise, follow along here if you're using Blackboard, Moodle and D2L.
3. Add Instructions
The next step is to add the task instructions. You can bring in an existing task, or you can customise one of the in-app Cadmus Templates. Templates are the perfect way to transform any old assessment into a task that puts student learning at the centre. They use the latest learning theories and assessment design principles, making it easier for you to put teaching and learning research into practice.
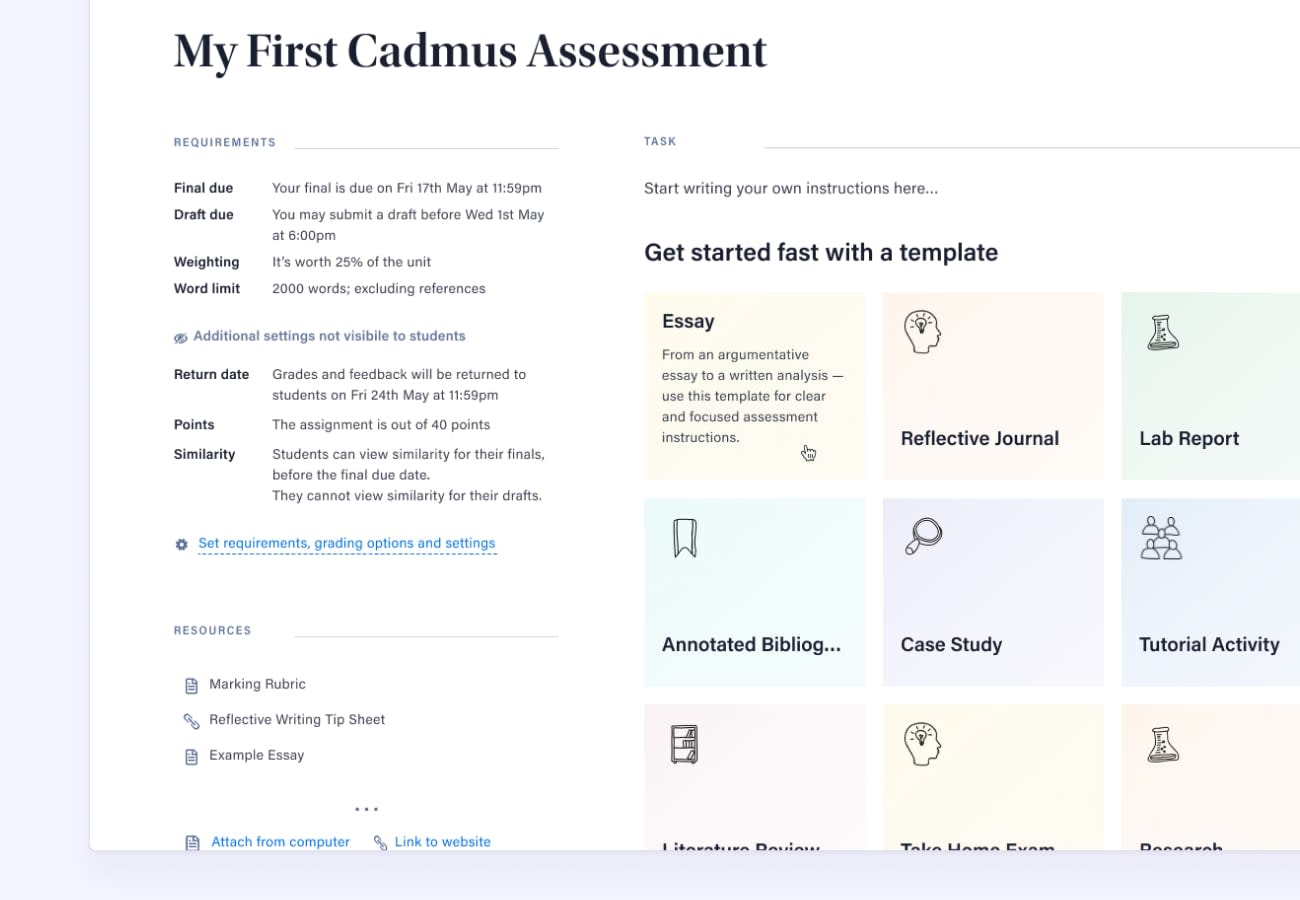
As a result, our templates consider ways to motivate students, cater to a range of skill levels, support the mastery of core academic skills, and encourage the organisation of learning processes (Ambrose et al., 2010). Simply select a relevant template as the base of your instructions, then adapt it to suit the specifics of your task. The video below shares some great suggestions on how you can customise your template.
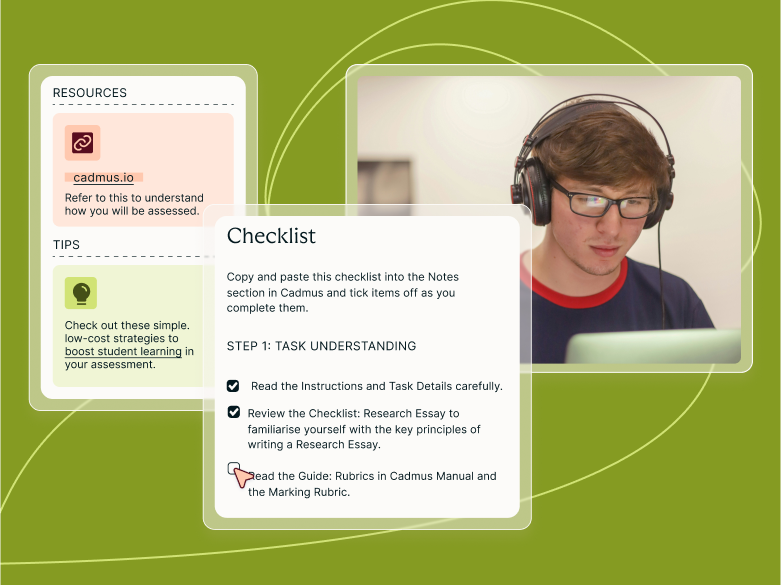
4. Add Resources
With your instructions completed, it's time to add resources. The resources you include could be anything from a video on how to use a library database to a guide on writing newspaper editorials—it's really up to you. Ideally, the resources you share should reflect your pedagogical beliefs and understanding of your students' needs. Whatever topic or form they may take, the goal of sharing resources should be to encourage students to support their own learning independently. As students become more comfortable referring to and seeking out helpful content, we see a decrease in their reliance on teachers for support.
Tip: With Insights in Cadmus, you can track engagement with specific resources throughout the course of an assessment. If engagement is lower than expected, talk to your students in class so they understand how to benefit from the resources.
5. Release to students
Now that you have set the requirements, added task instructions and curated your resources, you can release the assessment to students. You can choose to release all of the instructions now, at a later date, or a combination of the two. Learn more about staged assessments here.
Tip: If you need to make changes to the instructions, you can update your assessment at any time.
Congratulations—you've set up your first Cadmus assessment! 👏
Category
Hybrid Learning
Student Success